Bending tolerance dimensions and process requirements
1. Dimension tolerance range (no dimension tolerance requirements)

| Size | Tolerancerange | Size | Tolerancerange |
| 0-500mm | ±0.3mm | 500-1200mm | +≤0.6mm |
| 1200-1800mm | +≤0.8mm | 1800mmand above | +<1.0mm |
| Ifthere are clear tolerance range requirements in the process, follow the processrequirements. | |||
2.Bending angle tolerance range: 土<30'
3.Detection tools: vernier caliper, depth gauge, right angle ruler, angleruler, tape measure, etc.
4.Factors affecting bending size and angle
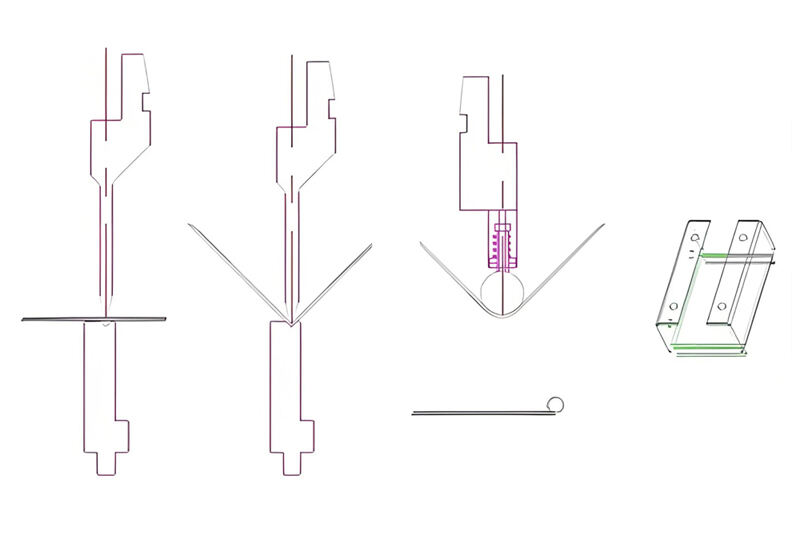
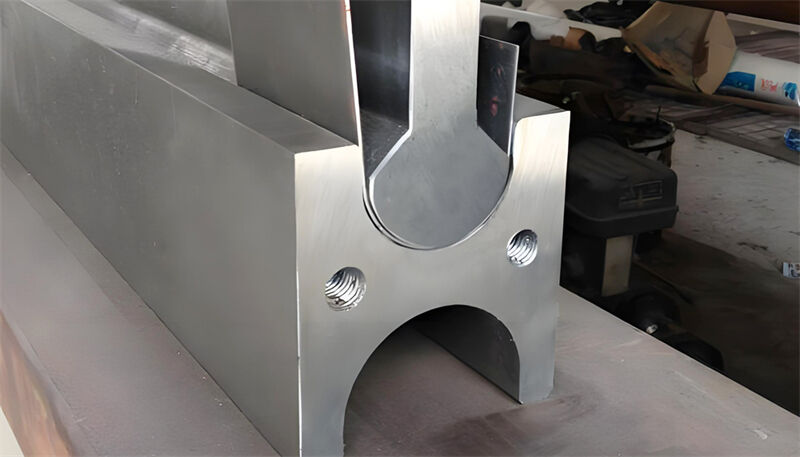
A.Different cores of upper and lower molds will lead to bending sizedeviation, and the tool should be ensured to be in place.
B.After the back stopper moves left and right, the relative distance with thebottom changes. You can use a vernier
caliper to measure and then fine-tune the back stopper screw.
C.When bending, the workpiece is not parallel enough with the lower mold, andthe workpiece rebounds after the upper mold is pressed down, affecting thebending size.
D.When the first bending angle is not enough, the second bending size will beaffected.
E. The cumulative bending error will lead to a larger error in theworkpiece's external dimensions. Therefore, it is particularly important toensure the accuracy of single-sided bending.
F. The material properties and thickness will affect the bending angle, soeach workpiece must be inspected and spot-checked when it is bent.
G. The length and thickness of the workpiece are different, and the pressurerequired is different. The length and thickness of the plate are proportional tothe pressure. Therefore, the bending pressure must be readjusted when the lengthand thickness of the workpiece change.
H. The size of the V-groove of the lower die is inversely proportional to thebending pressure. When the length and thickness of the plate are constant, thelarger the V-groove, the smaller the required pressure. Therefore, whenprocessing workpieces of different thicknesses, the correct V-groove size of thelower die must be used as required. At this stage, our company stipulates thefollowing, and no one is allowed to change it at will.
| Thickness | UseV-groove size | Thickness | UseV-groove size |
| t1.2 | V7 | t2.0 | +≤0.6mm |
| t1.5 | V12 | V12 |
I. At one end of the bending machine, that is, when processing with asingle-side load, the bending pressure will be affected, and it is also a harmto the machine tool, which is clearly prohibited. When matching the mold, themiddle part of the machine tool should always be stressed.
J. Deformation, damage, wear and other phenomena of the mold will affect allaspects of bending and forming. Once found, it should be reported and correctedin time.


