The problem of a pipe bending machine failing to clamp the pipe tightly is quite troublesome. Even if your program settings are correct and the die has been replaced, the pipe still slips inside the die during bending, causing the angle to deviate and the surface to be easily scratched. I've dealt with many such problems, and they all boil down to a few issues.
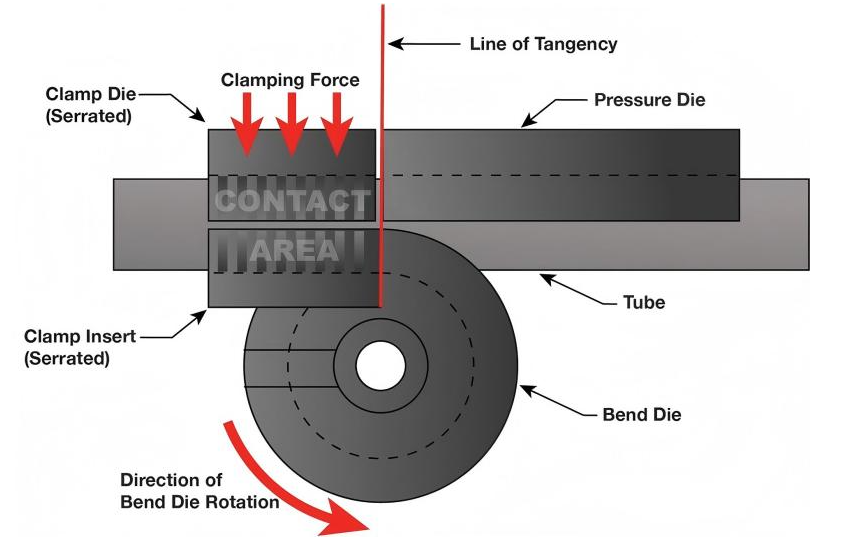
Wearing the clamping die is the most common cause.
Over time, the die surface gradually becomes smooth and may even develop pits. Insufficient friction means the pipe cannot be clamped properly. This wear is especially rapid when bending stainless steel or thick-walled pipes. The simplest way to determine if the die needs replacing is to check the surface of the bent pipe for slippage marks. If you see axial scratches on the pipe surface, it means the pipe did indeed shift during bending, and the die should be inspected.
Improper clamping force settings are also common.
Insufficient pressure won't clamp the tube, while excessive pressure can flatten it or leave indentations. Each model has a recommended pressure range, but the specific value depends on the tube's material and wall thickness. I usually start with a mid-range value, bend a tube to check the effect, and if slippage occurs, gradually increase the pressure until the tube stops moving.
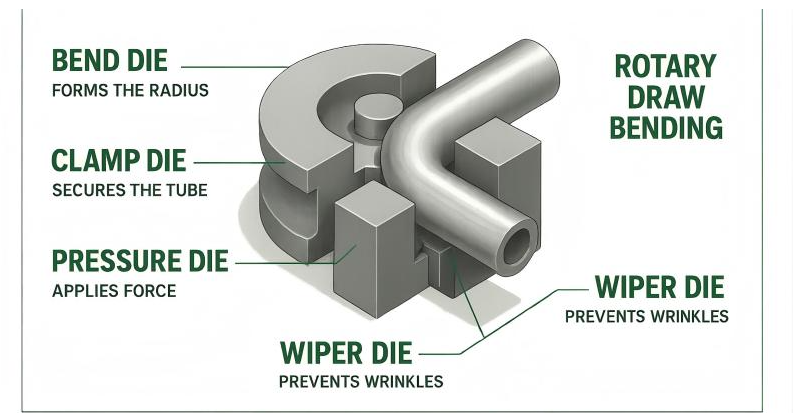
Die alignment issues can also occur.
If the clamping die and bending die are not aligned, the contact area decreases, resulting in uneven clamping force distribution. If the tube is subjected to uneven force, the bending angle will also be off. When checking alignment, use a ruler or feeler gauge to measure the gap between the dies to see if the left and right sides are consistent. If any deviation is found, adjust it promptly.
Contaminants on the tube surface can also affect clamping performance.
Before bending, the tube surface may have residual cutting oil, rust-preventive oil, or metal shavings. These impurities reduce the friction between the die and the tube, compromising clamping effectiveness even with higher pressure. Wipe the surface of the pipe with a dry cloth before loading to remove excess oil and dirt, which can solve some of the clamping problems.
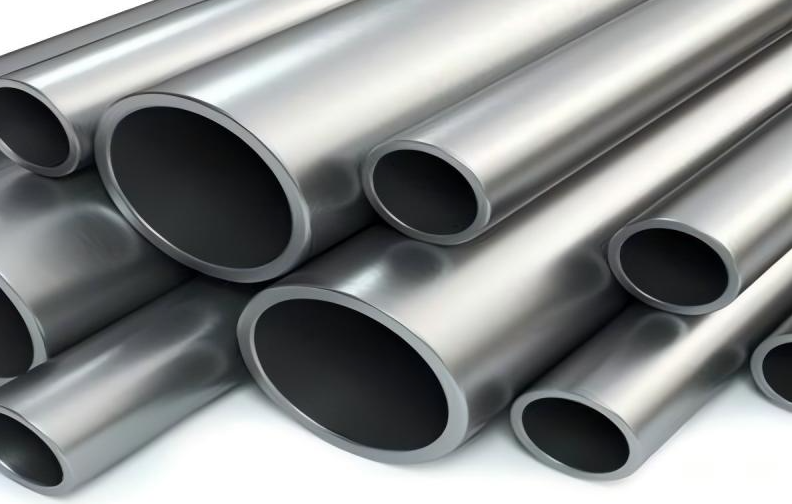
Problems with the pipe itself cannot be ignored.
Sometimes the issue isn't with the machine, but with the pipe itself being out of round or having uneven wall thickness. Such pipes fit poorly in the mold, resulting in poor clamping. This is especially true for pipes from different batches, as diameter tolerances may vary. In such cases, measure the pipe's outer diameter to see if it's within the mold's applicable range.
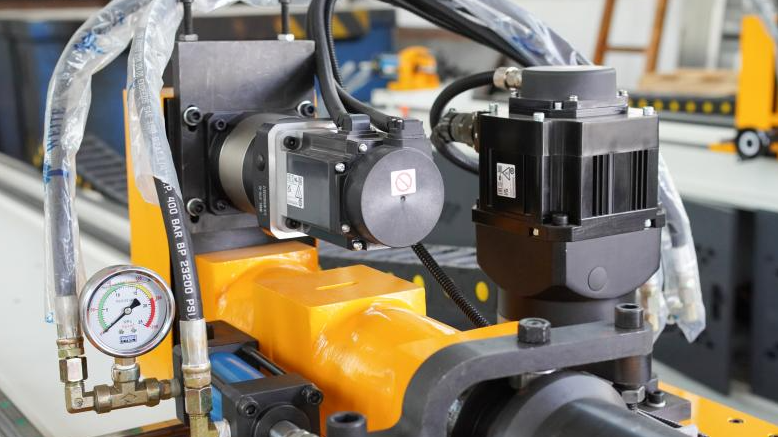
Unstable hydraulic or servo systems.
For CNC machines, clamping force is controlled by a hydraulic or servo system. If the system pressure fluctuates, the clamping force will also fluctuate. Check if the hydraulic oil level is normal, if there are any leaks in the pipeline, and if the pressure gauge reading is stable. For servo systems, confirm the working status of the servo drive and motor.
My troubleshooting sequence is usually as follows:
First, check the mold surface for obvious wear → then check if the pressure setting is appropriate → then confirm the mold alignment → wipe the pipe surface before bending → if the problem persists, then check the hydraulic or servo system. Most clamping problems can be identified within the first three steps.
Routine prevention is actually quite simple.
Check the mold surface condition each time you change molds, and address any wear promptly. Check the clamping pressure weekly to ensure it's within the normal range. Keep the contact surfaces between the mold and the pipe clean; don't wait until problems arise to clean them.
Clamping problems sometimes accumulate from small details. Developing a habit of daily checks can prevent many issues from escalating to the point of affecting production. What's the most common clamping problem you encounter in the workshop? Feel free to share your experiences.