





Laser Cutting Motor Maintenance Guide
How to Maintain Laser Cutting Motors Effectively
The motors inside a laser cutting machine are responsible for precise movement, stable acceleration and repeatable positioning. When a motor develops bearing wear, electrical instability, contamination or alignment problems, the effects often appear directly in production: vibration increases, positioning becomes less accurate, operating temperature rises and unexpected shutdowns become more likely.
A preventive maintenance program helps identify these issues before they lead to expensive repairs. This guide presents a practical six-step maintenance sequence for JUGAO laser cutting motors. The subject, technical priorities and tutorial order remain consistent with the source document, while the wording and paragraph structure have been fully recreated for lower textual similarity and stronger website readability.
Table of Contents
1. Understanding Laser Cutting Motor Maintenance
Importance of Regular Motor Maintenance
Common Motor Problems
2. Step-by-Step Maintenance Procedures
Step 1: Inspect Bearings and Rotors
Step 2: Clean the Motor and Surrounding Area
Step 3: Check Electrical Connections
Step 4: Monitor Motor Temperature
Step 5: Verify Motor and Shaft Alignment
Step 6: Test and Record Performance
3. Preventive Measures for Longer Motor Life
4. Frequently Asked Questions
5. Conclusion
Understanding Laser Cutting Motor Maintenance
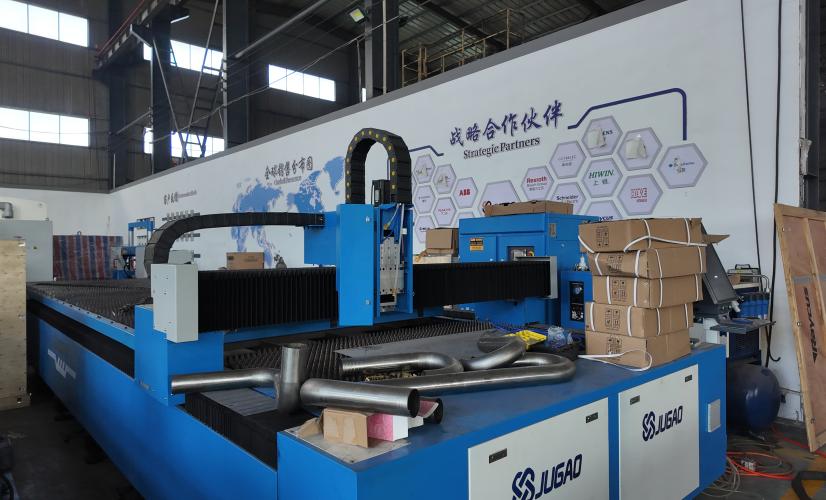
Why Regular Motor Maintenance Is Important
Laser cutting motors are designed to operate within specific limits for current, temperature, speed and load. Regular maintenance keeps these operating conditions under control and supports consistent cutting accuracy. If inspections are postponed, small problems such as dry bearings, blocked cooling passages or loose terminals can gradually develop into overheating, unstable motion or complete motor failure.
Preventive care also lowers the total cost of ownership. A short scheduled inspection is usually far less expensive than replacing a damaged motor, repairing connected drive components or losing production time during an emergency shutdown.
Common Motor Problems
The most frequent problems include bearing deterioration, excessive heat, dust and metal-particle contamination, loose or corroded electrical connections, rotor damage and misalignment between the motor shaft and transmission system. Early warning signs may include unusual noise, rising vibration, delayed response, unstable current, reduced acceleration or declining cutting precision.
Step-by-Step Maintenance Procedures
Step 1: Inspect Bearings and Rotors
Begin by listening for abnormal humming, grinding or clicking while the motor is running under an approved test condition. Compare vibration with the machine’s normal baseline and check whether the shaft rotates smoothly without noticeable resistance.
Inspect the bearing area for leakage, contamination and excessive play. Apply only the lubricant type and quantity specified for the JUGAO machine. Too little lubrication increases friction, while excessive grease may raise temperature or attract debris. Examine the rotor and accessible shaft surfaces for cracking, discoloration, scoring or deformation that could reduce motor stability.
Step 2: Clean the Motor and Surrounding Area
Metal dust, cutting residue and workshop debris can collect on the motor housing, ventilation openings and nearby components. This contamination restricts heat dissipation and may enter bearings or electrical connectors.
With the machine safely isolated, remove loose debris using a lint-free cloth, anti-static brush or controlled low-pressure air suitable for the equipment. Do not force particles deeper into the motor or direct high-pressure air at seals and connectors. Keep cooling passages and fan inlets open, and correct the source of any oil or moisture found around the motor.
Step 3: Check Electrical Connections
Inspect motor power cables, feedback cables, plugs, terminals and grounding conductors. Look for looseness, bent pins, insulation damage, heat marks, corrosion and cable strain near moving sections.
A poor connection can create voltage drop, unstable motor response and local overheating. Tighten terminals to the specified torque and replace damaged connectors rather than relying on temporary repairs. Electrical measurements should be performed by qualified personnel using the correct diagram and diagnostic tools.
Step 4: Monitor Motor Temperature
Use the built-in temperature sensor, CNC diagnostic display or an appropriate external thermometer to track operating temperature. Measurements are most useful when they are recorded under similar load and ambient conditions.
A gradual temperature increase may indicate excessive load, restricted ventilation, bearing friction, incorrect lubrication or electrical imbalance. Stop the machine and investigate any temperature that exceeds the approved operating range instead of repeatedly clearing the alarm.
Step 5: Verify Motor and Shaft Alignment
Accurate alignment between the motor, coupling and driven shaft reduces vibration and prevents uneven wear. Check the coupling for cracks, looseness, deformation and damaged fastening elements.
Use suitable precision tools to verify angular and parallel alignment according to machine specifications. Alignment should also be rechecked after a motor, coupling, gearbox or transmission component has been replaced.
Step 6: Test and Record Performance
After maintenance, restore the machine according to the approved startup procedure and run the motor under normal operating conditions. Monitor speed, current, temperature, torque response, vibration and alarm status.
Record the operating hours, measured values, work performed and parts replaced. Trend data is particularly valuable because gradual deterioration may be difficult to recognize during a single inspection. A complete history allows maintenance teams to identify changes before a serious failure occurs.
Preventive Measures for Longer Motor Life
Maintain a Clean Working Environment
Keep the cutting area free from excessive metal particles, dust and accumulated scrap. Effective extraction, regular housekeeping and clean electrical enclosures reduce contamination and improve motor cooling.
Follow JUGAO Maintenance Guidelines
Use the inspection intervals, lubricant specifications, tightening values and replacement procedures provided for the specific JUGAO machine. Components that appear similar may have different lubrication or installation requirements.
Schedule Regular Inspections
Build motor inspection into a preventive maintenance plan rather than waiting for noise, heat or alarms. The exact interval should reflect operating hours, workload, environmental conditions and machine documentation. High-production or dusty environments may require more frequent checks.
Train Operators to Report Early Warning Signs
Operators should report unusual sounds, vibration, delayed movement, overheating and recurring drive alarms immediately. Early reporting gives technicians time to inspect the motor before the fault affects other components or production quality.
Frequently Asked Questions
How often should laser cutting motors be maintained?
The source document recommends inspection and cleaning approximately every 250–500 operating hours or according to the manufacturer’s schedule. The final interval should also reflect workload, dust level and operating temperature.
Can motor overheating be prevented?
In many cases, yes. Clean ventilation paths, correct lubrication, proper alignment, stable electrical connections and reasonable load conditions all help control temperature.
What are the signs of bearing failure?
Grinding or rattling noise, increasing vibration, shaft resistance and rising housing temperature are common indicators. The motor should be inspected promptly to prevent secondary damage.
Why is motor alignment important for cutting accuracy?
Misalignment creates vibration and uneven mechanical loading. These conditions can reduce positioning stability and accelerate wear in the coupling, bearings and transmission system.
Should a motor be replaced immediately when vibration increases?
Not necessarily. Vibration may also come from loose fasteners, misalignment, contamination or bearing lubrication problems. A qualified technician should diagnose the cause before deciding whether replacement is required.
What information should be included in motor maintenance records?
Record the date, operating hours, current, temperature, vibration, speed, observed symptoms, maintenance actions and replaced parts. Consistent records make long-term performance trends easier to identify.
Conclusion
Effective motor maintenance is essential for accurate movement, stable cutting quality and reliable laser machine operation. Following the same sequence each time—bearing and rotor inspection, cleaning, electrical checks, temperature monitoring, alignment verification and performance recording—helps technicians detect deterioration early and reduce unplanned downtime.
JUGAO recommends combining these procedures with a documented preventive maintenance schedule. For model-specific lubricant requirements, test limits, spare parts or technical support, consult the operating documentation supplied with the machine or contact the JUGAO technical service team.

