





How should a trial run for a pipe-bending machine be conducted properly?
Once a new machine is installed—or reconnected following a major overhaul or relocation—everything may appear perfectly fine the moment it is powered on. However, the true test is not merely whether the machine can operate, but whether it can consistently and precisely produce parts that meet specifications. This is the purpose of a trial run: to verify the machine, tooling, operating parameters, and safety features before full-scale production begins. Skipping this step, or performing it only in a perfunctory manner, will almost certainly lead to a cascade of issues once mass production gets underway.
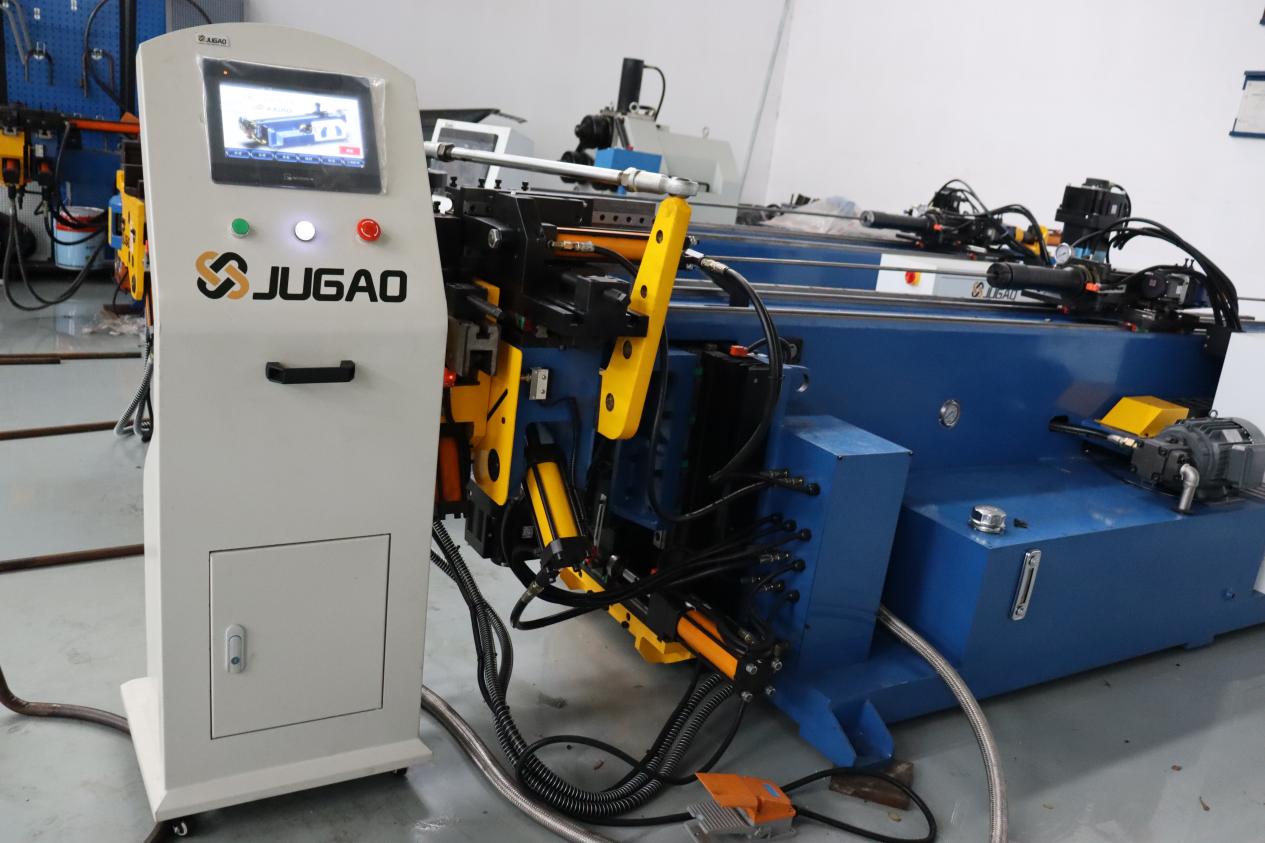
I. Before You Begin: Verify the Fundamentals
Are the anchor bolts tightened securely? Is the machine leveled within the allowable tolerance? Is the floor sufficiently solid? While these may seem like basic checks, even a slight deviation in machine leveling can lead to vibrations during trial runs, which in turn causes inaccuracies in the bending angle.
For electrical connections, ensure the voltage is stable and all wiring is secure. For the hydraulic system, check the oil level, inspect hose fittings for leaks, and verify that pressure settings are correct. Ensure all lubrication points—especially guide rails and rotating components—are adequately lubricated. Only when these preparations are thoroughly completed can subsequent testing be meaningful.
II. No-Load Operation: Listen to Sounds and Observe Movements
Run the machine without any tubing loaded. Cycle through all axes, testing the clamping mechanism, the advancement and retraction of the mandrel, and the travel of the feeding carriage.
Listen to the operation. A properly functioning machine should produce a consistent, uniform sound; any unusual noises, periodic clanking, or sharp friction sounds often indicate alignment issues or loose components. Observe the movements: check for any sticking, delays, or instances where one axis lags behind the others.
During the no-load phase, also verify the "homing" (zero-position) accuracy of each axis. Return every axis to its home position to confirm repeatability. Even a minor deviation at this stage can accumulate into a significant error after repeated bending operations.
III. Load Testing: Start Simple
Once the machine is stable under no-load conditions, load some tubing to perform load testing. Use tubing specifications—diameter, wall thickness, and material—that match your actual production requirements.
Begin with simple bends: single bends, standard radii, and short pipe segments. Observe the bending angle, surface quality, and the degree of springback. Issues such as wrinkling, flattening, or slippage indicate that adjustments are necessary.
Once simple bends are satisfactory, progress to more complex sequences—such as multi-radius or multi-plane bending. At this stage, focus on the consistency of the angles between individual bends, as well as the precision in the coordination between the rotary axis and the feeding axis.
IV. Measure, Adjust, and Measure Again
After each trial bend, use an angle gauge to verify the bending angle, calipers to check lengths, and a radius gauge to confirm the bend radius. If the data doesn’t match the target values, adjust the parameters—such as bending speed, clamping force, booster pressure, or springback compensation—one variable at a time, testing after each adjustment.
The trial run isn’t about achieving a perfect bend on the very first attempt; rather, it is a controlled optimization process. By bending, measuring, and recording each piece, you can determine the optimal parameter combination for a specific material, specification, and set of dies.
V. Verifying Stability Through Continuous Operation
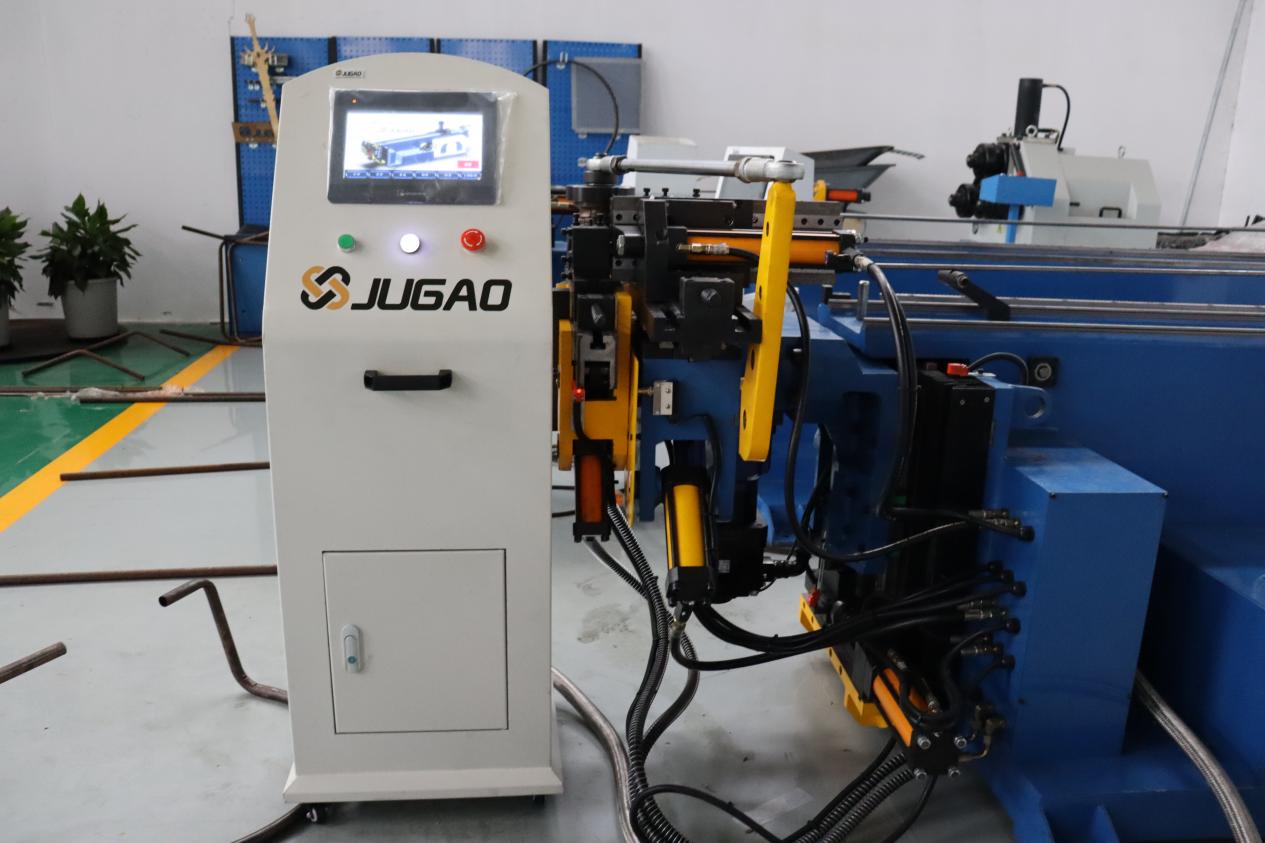
Passing a test bend on a single piece does not guarantee that the machine can maintain stable, continuous production. Run the machine for an extended period—for instance, by performing 20 to 30 consecutive bends—without adjusting any parameters.
What should you look for? Check for angle drift, abnormal rises in oil temperature, fluctuations in pressure readings, or intermittent alarms. The machine’s thermal stability, hydraulic consistency, and control reliability over long-term operation can only be verified through continuous running. I have frequently encountered cases where a machine performs well during a single test but develops issues when tasked with a continuous production run.
VI. Never Skip Safety Checks
Verify all safety functions during the trial run. Test every emergency stop button; pressing one must immediately halt all machine movements. Opening a safety guard should either stop the machine or prevent it from starting. Obstructing a light curtain must interrupt any ongoing operation. Ensure that all interlock switches are correctly positioned and provide reliable signals.
A trial run is the ideal opportunity to confirm that the machine stops as intended under abnormal conditions. Carrying out this step thoroughly is essential to ensuring the safety of operators.
VII. How Long Should a Trial Run Take?
This depends on the complexity of the machine and the specific bending requirements. For a simple, single-bend machine, the process may take only a few hours. For multi-axis CNC machines or complex tubular components, it could require an entire day. Do not rush the process; a hurried trial run will almost certainly lead to future downtime as you are forced to address the issues you overlooked.
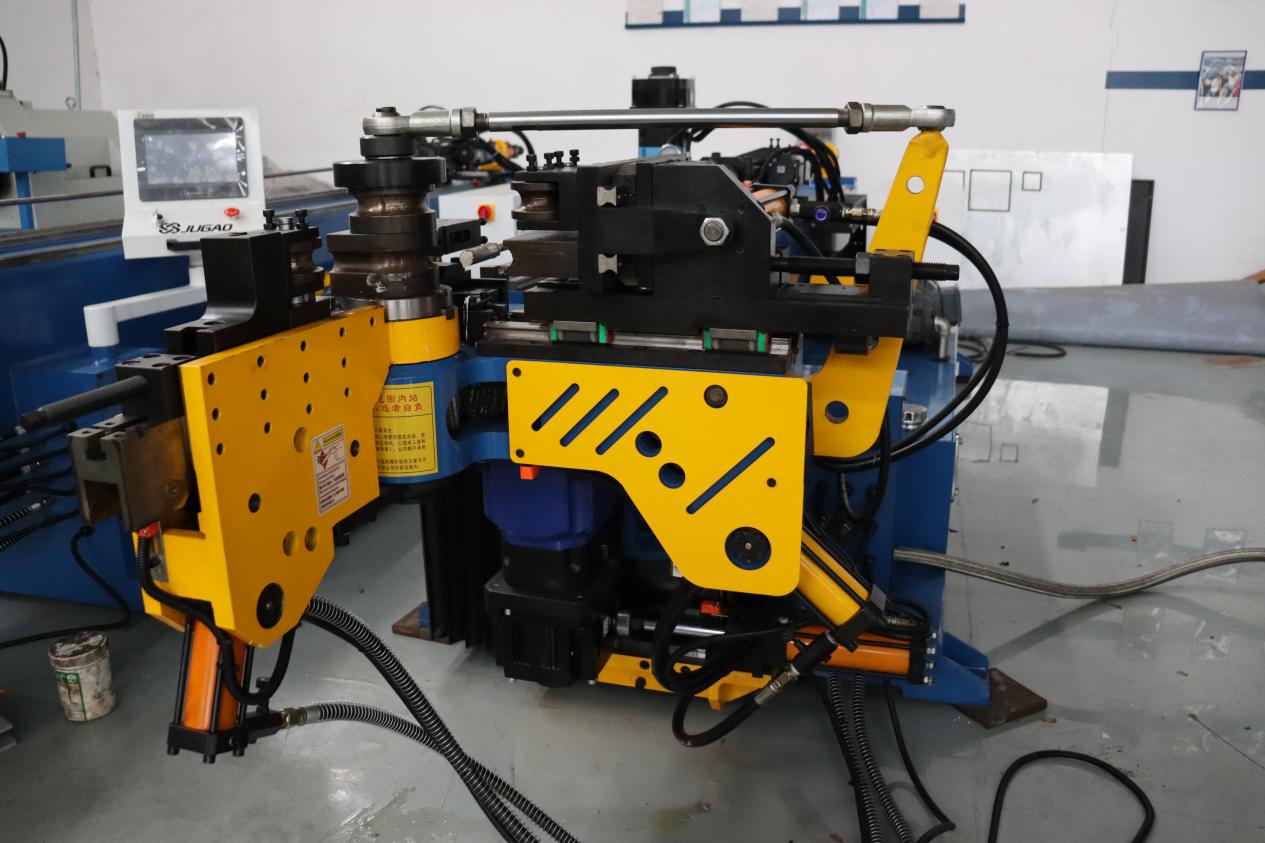
A trial run is not merely a formality; it is the foundation for stable, precise, and efficient production. Only after completing the necessary steps—thorough preparation, no-load verification, load testing, measurement and adjustment, confirmation of continuous operation, and successful safety inspections—can a machine be considered truly ready for full-scale production.

