





Core Principles for Beginner-Level Laser Welding
Many beginners are intimidated the moment they see a laser welding machine, labeling it as "high-tech equipment"—fearing complex operations, potential mistakes, or simply not knowing where to start.
There’s no need to panic!
Laser welding offers high precision, strong joints, and rapid efficiency, making it widely used in industries such as hardware, electronics, and automotive parts.
Today, we’ve put together a "Beginner’s Operating Guide." Follow these steps, and you’ll be welding like a pro—it’s incredibly practical!
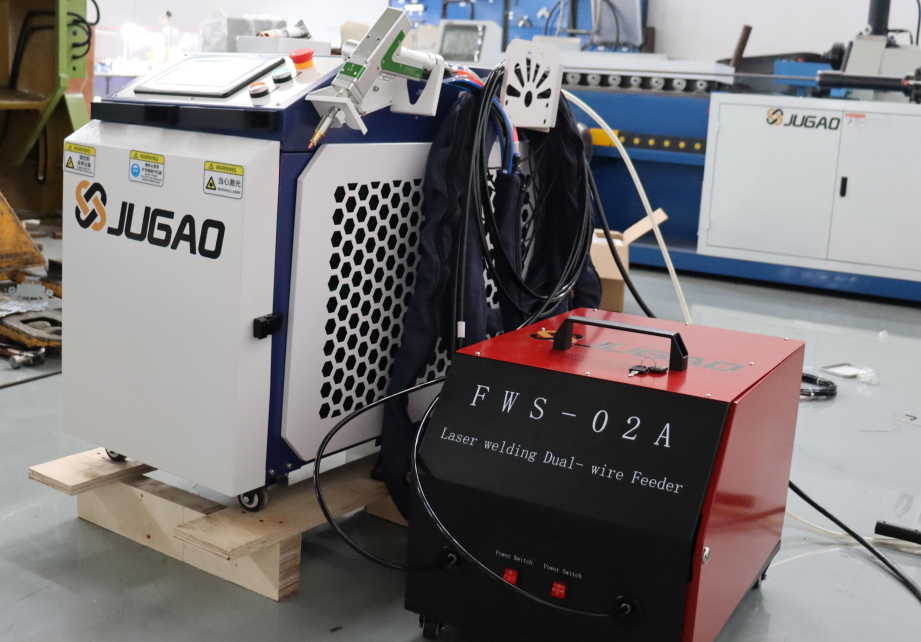
Step 1: Pre-Operation Preparation | Lay a Solid Safety Foundation and Prevent Equipment Issues
Preparation is the most critical phase—never skip it! Focus on three key areas: safety protection, equipment inspection, and parameter setup.
1. Safety Protection
The golden rule for operating laser equipment is: Safety First.
Personal Protective Equipment (PPE): You must wear laser-safety goggles (matched to the specific wavelength of your equipment), flame-retardant workwear, and heat-resistant gloves.
Environmental Safety: Clear the workspace of unnecessary clutter, restrict access to authorized personnel only, display safety warning signs, and ensure the laser beam is never directed at people.
2. Equipment Inspection
Check the equipment status before powering on to minimize the risk of malfunctions:
Ensure the machine casing is intact, and verify that all power connections, water hoses, and fiber-optic cables are secure—check for any looseness or leaks.
Activate the cooling system; confirm that the coolant level is sufficient and the water circulation is flowing smoothly.
Test the emergency stop button to ensure the machine can be shut down instantly in an unexpected situation.
3. Parameter Setup
Don’t guess or experiment blindly. Use the manufacturer’s recommended settings based on the material and thickness of your workpiece:
Example: For a 1mm stainless steel sheet, you might set the power to 800–1000W with a welding speed of 3–5mm/s.
Beginner’s Tip: Start with lower power and slower speeds. Practice on scrap material first, fine-tune your parameters based on the quality of the weld seam, and only then move on to your actual workpieces.
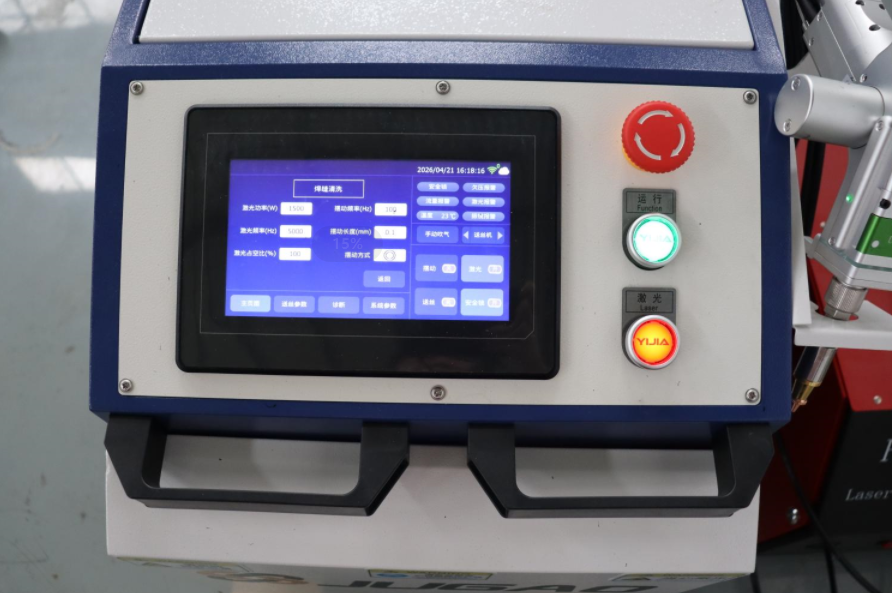
Step 2: During Operation | Master Key Techniques for Precise Welding
There is a standard procedure for welding. Stay calm, follow the sequence, and focus on two core aspects: the correct startup procedure and proper welding technique. 1. Standardized Startup Procedure
Turn on the main power supply for the equipment.
Activate the cooling system, followed by the laser generator.
Wait 1–2 minutes for the equipment to complete its self-check; ensure no error messages appear on the display before beginning any welding.
2. Mastering Welding Technique
For beginners, keep this key principle in mind: "Precise positioning and steady movement."
Secure the workpiece: Use clamps to hold the workpiece firmly in place, preventing it from shifting or drifting during the welding process.
Precise positioning: Use the equipment’s red-light positioning feature to align the laser focal point with the joint. Keep the welding head perpendicular to the workpiece, maintaining a gap of 2–3 mm.
Consistent speed: Once the laser is activated, move the welding head steadily. Beginners may use an auxiliary guide rail to prevent hand tremors or deviations.
Monitor in real-time: If the weld seam turns black or develops porosity (gas bubbles), reduce the welding speed or lower the power output.
Important Warning:
If the workpiece shifts or the equipment makes unusual noises, press the emergency stop button immediately. Cut off the laser and power supply before addressing the issue. Never touch the workpiece or adjust parameters while the equipment is in operation!
Step 3: Post-Welding Shutdown | Follow these steps to extend your equipment's lifespan by years!
Many beginners simply cut the power immediately after finishing a weld—this actually causes "silent damage" to the equipment! Proper shutdown and maintenance not only extend the equipment's service life but also reduce the likelihood of future malfunctions.
1. [Proper Shutdown and Controlled Cooling]
A common pitfall for beginners: Never cut the power immediately after welding!
Follow this sequence to prevent damage caused by overheating:
First, turn off the laser emission switch, but keep the cooling system running for 5–10 minutes to allow the internal components to cool down thoroughly.
Once the equipment has returned to room temperature, turn off the cooling system and then disconnect the main power supply.
2. [Cleaning, Inspection, Storage, and Maintenance]
Follow this checklist to keep your equipment clean and durable:
Clean Consumables: Gently remove spatter and dust from the welding torch nozzle and protective lens—take care to avoid scratching these precision components.
Organize the Workstation: Clear away scrap material and welding spatter from the workbench to keep the operating area clean and tidy.
Quality Inspection & Documentation: Check the quality of the weld seams. Record any issues, such as incomplete penetration or unevenness, to help optimize parameters for future tasks.
Dust Protection: Use a dust cover to shield the equipment and protect its internal components from dust.
▶ Pro Tip: Following this maintenance routine regularly will significantly reduce the equipment's failure rate, making your work much more worry-free!
Summary: The core logic for welding beginners—just remember these 3 points!
Looking at the entire process, laser welding is actually not complex at all; it boils down to these 3 essential steps:
1. Thorough preparation before starting.
2. Standardized, proper operation during welding.
3. Meticulous wrap-up after the work is finished.

