Como substituir corretamente o molde em uma máquina de dobragem de tubos?
Trocar os moldes em uma máquina de dobrar tubos é uma operação comum na produção diária. No entanto, métodos inadequados podem afetar a precisão da dobra, danificar os moldes ou até causar acidentes de segurança. Um processo padronizado e ordenado de troca de moldes é a base para garantir a estabilidade do equipamento e a qualidade do produto.
Preparação antes da troca de moldes:
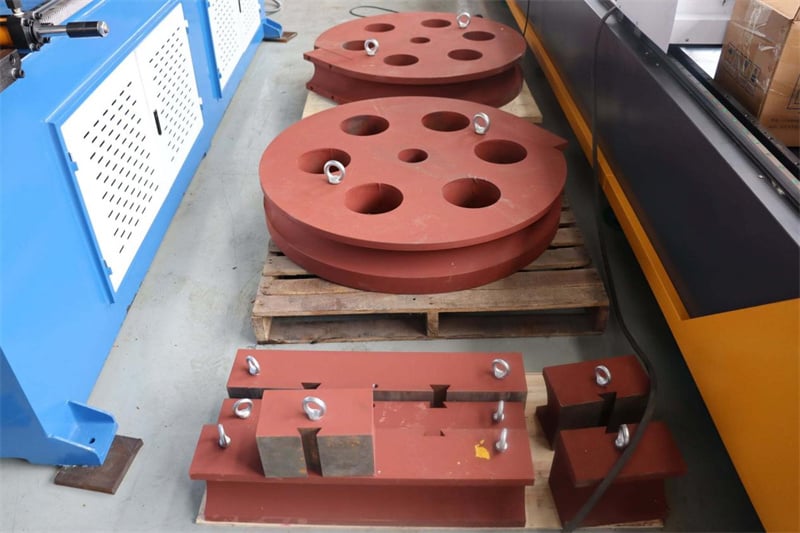
Confirmar as especificações: Verificar se o diâmetro do tubo e o raio de curvatura do novo molde correspondem ao tubo a ser processado.
Limpeza e manutenção: Remover resíduos de óleo e aparas metálicas do molde antigo e da área de instalação. Verificar a superfície de trabalho do novo molde quanto à presença de rebarbas ou ferrugem.
Preparação das ferramentas: chave Allen, chave de soquete, chave dinamométrica, haste de cobre, óleo especial para dobramento de tubos, etc.
Operação segura: desligue a alimentação do equipamento e libere a pressão do sistema hidráulico (execute a ação de retorno à posição inicial ou de alívio de pressão).
Remoção da matriz antiga:
Matriz de dobramento: remova os parafusos de fixação da matriz de dobramento e bata suavemente nela com uma haste de cobre para desengatá-la do eixo. Guarde os parafusos e arruelas em local seguro.
Matriz de fixação: afrouxe os parafusos do suporte da matriz de fixação e remova a matriz de fixação. Se a força de fixação tiver causado aderência devido ao uso prolongado, utilize uma alavanca para desprendê-la de forma uniforme.
Matriz anti-rugas: afrouxe os parafusos de fixação do suporte da matriz anti-rugas e puxe a matriz anti-rugas na direção do trilho deslizante.
Mandril: retorne o mandril à posição inicial, remova o pino de conexão ou a porca de travamento na extremidade da haste do mandril e puxe o mandril pela extremidade frontal ou traseira (conforme o modelo da máquina).
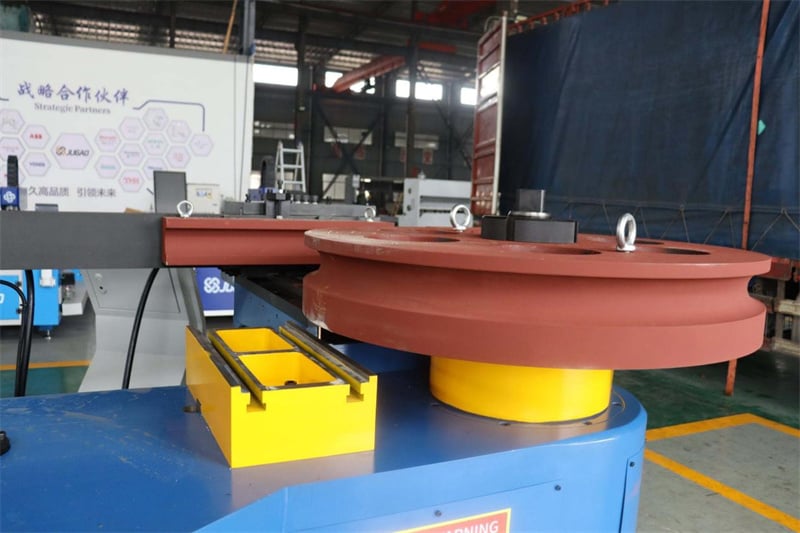
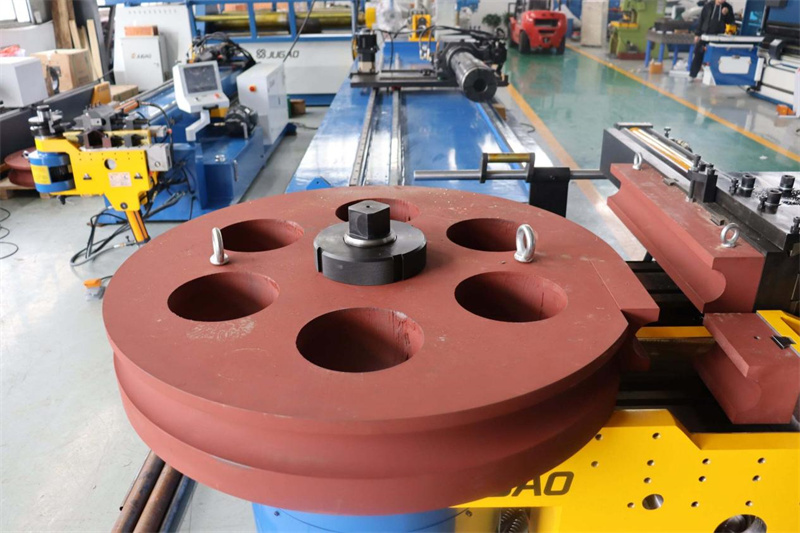
Instalação da nova matriz: Matriz de dobramento:
Insira a matriz de dobragem no eixo rotativo, garantindo que a chave de posicionamento ou o degrau de posicionamento estejam alinhados. Aplique uma pequena quantidade de óleo anticorrosivo na superfície de contato. Pré-aperte os parafusos em cruz, seguido do aperto final até o torque especificado com uma chave de torque.
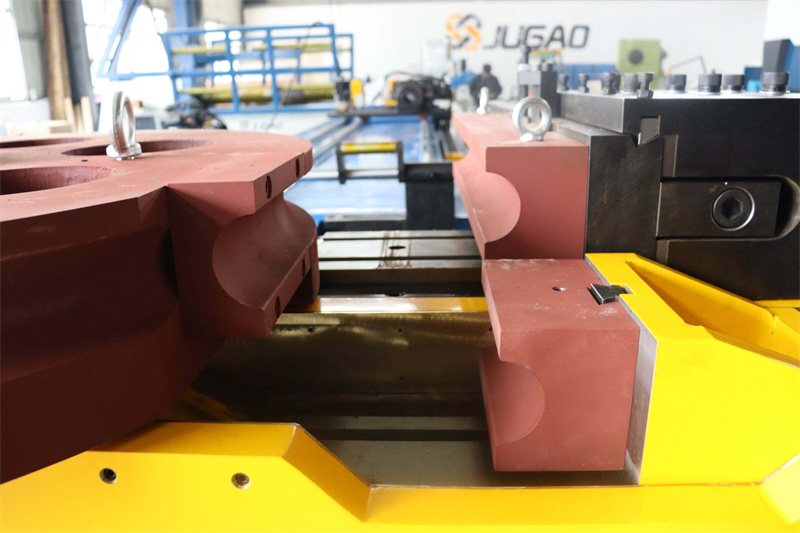
Matriz de fixação: Instale a matriz de fixação, garantindo que a direção da abertura da matriz esteja alinhada com a ranhura da matriz de dobragem. Após fixar levemente, utilize um relógio comparador para verificar o paralelismo e a coaxialidade entre a matriz de fixação e a matriz de dobragem, ajustando com calços, se necessário.
Matriz antirrugas: Insira a matriz antirrugas no trilho-guia, ajustando a posição de sua borda dianteira de modo que fique exatamente alinhada com o ponto de tangência da matriz de dobragem. Ajuste a folga para que ela se encaixe firmemente ao diâmetro externo do tubo, sem travar (aproximadamente 0,1–0,2 mm).
Mandril: Insira o mandril na posição-guia do tubo e conecte a haste do mandril. Ajuste da extensão do mandril: Geralmente, o centro do primeiro encaixe esférico do mandril de cabeça esférica deve ficar a 0,5–1,5 mm antes da linha de corte da matriz de dobramento (dependendo da espessura da parede do tubo).
Inspeção pós-troca de matriz e operação de teste:
Teste em vazio: Execute manualmente ou em baixa velocidade o braço de dobramento sem carga para confirmar que não há interferência nem ruído anormal.
Dobramento de teste da primeira peça: Utilize um trecho de tubo com as mesmas especificações do produto final, aplique óleo de dobramento e realize um dobramento de teste.
Inspeção de qualidade: Verifique o ângulo, a ovalização da seção transversal e a presença de rugas ou arranhões na peça dobrada de teste. Caso não atenda aos requisitos, ajuste finamente a folga da matriz anti-rugas ou a posição do mandril.
Registro de parâmetros: Registre as especificações da matriz, a posição do mandril e a posição da matriz anti-rugas no cartão de processo, para facilitar uma troca rápida de matriz na próxima vez.
Precauções Principais
Aperte os parafusos diagonalmente para evitar pressão desigual que possa deformar o molde.
Uma extensão excessiva do mandril arranhará a parede interna do tubo; uma extensão insuficiente não impedirá eficazmente o enrugamento.
Uma folga excessiva entre o molde anti-enrugamento e o molde de curvatura causará enrugamento; uma folga muito pequena causará arranhões. É necessário um ajuste fino cuidadoso.
Após a troca de moldes, limpe sempre a superfície do molde e aplique uma quantidade adequada de lubrificante para curvamento, a fim de evitar atrito seco.
Verifique regularmente o molde quanto ao desgaste; se o desgaste exceder a tolerância, realize a reparação ou substituição imediatamente.
Um procedimento adequado de troca de moldes não só garante a precisão da curvatura de tubos, mas também prolonga significativamente a vida útil dos moldes e dos equipamentos.