


How to Use DSP Laser Protection for Press Brake
Introduction
DSP Laser Protection for Press Brake is a critical safety feature designed to ensure secure and efficient operation. By preventing accidents and protecting operators, this system minimizes risks during press brake operations. This guide provides step-by-step instructions on how to set up and use DSP laser protection effectively, enhancing safety in your manufacturing environment.
What is DSP Laser Protection?
The DSP laser protection device safeguards operators by monitoring the rapid movements of the slider on the bending machine. It utilizes laser beams to create a safety barrier, triggering an immediate stop if an obstruction is detected. This article will cover the laser beam alignment method and protection mode adjustment to ensure optimal performance.
How to Use DSP Laser Protection for Press Brake
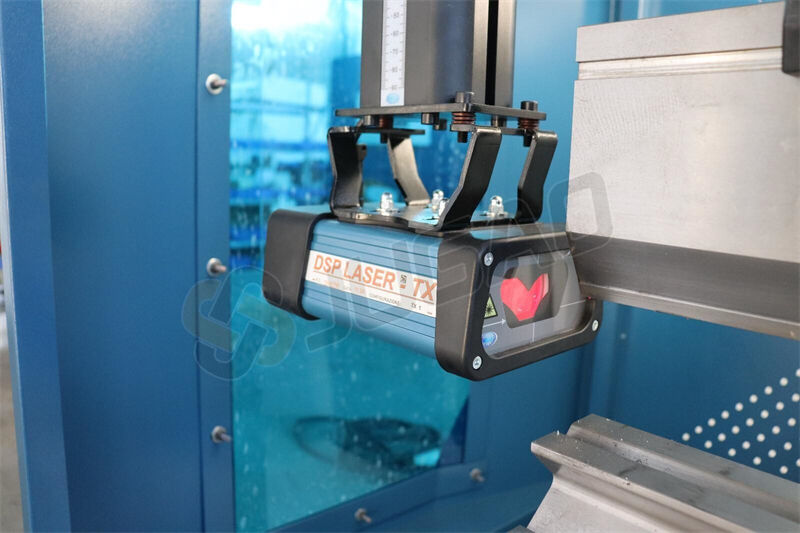
Step 1: Transmitter Beam Position Adjustment
1. Prepare the Laser Positioner: Place the laser positioner between the punch and dies of the machine.
2. Align the Beam: Position the laser positioner near the transmitter and observe the beam. The upper end of the beam should align with the TX line, while the lower end should match one of the reference lines.
3. Adjust the Beam:
For left/right adjustments, loosen the four screws on the transmitter and reposition the beam.
For up/down adjustments, twist the designated screw until the beam meets the alignment requirements.
4. Set the Reference Position: Once aligned, note this position as the reference. Move the positioner to the receiver side and repeat the adjustment until the beam matches the reference position at both ends.
5. Secure the Transmitter: Tighten the four screws on the transmitter to lock it in place.
Step 2: Receiver Beam Position Adjustment
1. Check Light Leakage: Observe the light leakage from the RX part on the positioner. Ensure it aligns correctly with the designated position.
2. Adjust the Receiver: If the light leakage is misaligned, adjust the receiver until it matches the correct position.
3. Secure the Receiver: Once aligned, remove the positioner and tighten the screws on the receiver.
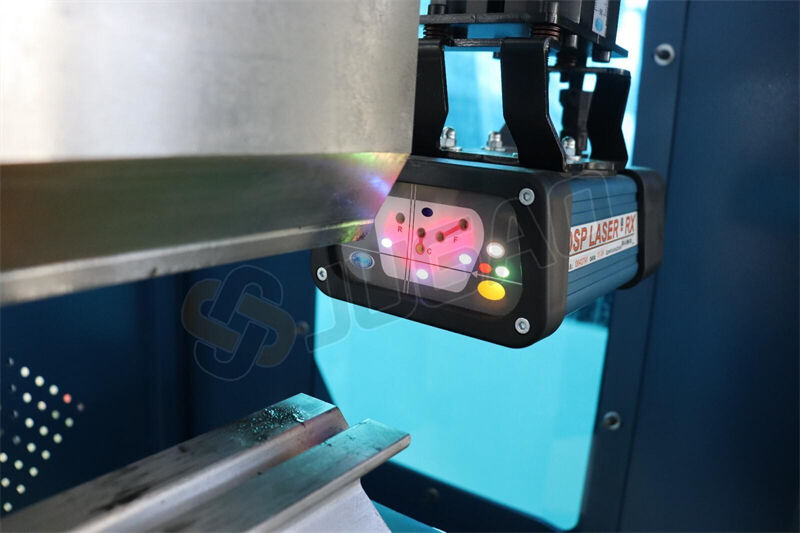
Step 3: Overall Position Adjustment
1. Fine-Tune the Beam: Loosen the switch on the receiver and adjust the overall position until the lower end of the beam aligns with the horizontal line.
2. Verify Alignment: A green light on the receiver will illuminate once the alignment is correct, indicating that the laser protection system is ready for use.


