


Comprehensive Guide to Changing V-Openings on Multi-V Dies
Pre-Change Preparation Checklist
Before beginning the V-opening change process, complete these essentialpreparations:
1. Review Work Order Requirements
Verify material type and thickness
Confirm required bend angles and radii
Identify optimal V-opening size (typically 6-12× material thickness)
2. Gather Necessary Tools
Correct wrench sizes for die clamps
Lifting equipment (for dies over 15kg)
Alignment pins or gauges
Calibration tools
3. Workspace Setup
Clear adequate working space around press brake
Ensure proper lighting
Prepare scrap material for test bends
Detailed Step-by-Step Procedure
1. Machine Safety Lockout
Engage main power disconnect switch
Install physical lockout devices with personal safety locks
Verify zero energy state by attempting to cycle machine
Place "DO NOT OPERATE" tags at all control points
*Safety Note: According to OSHA 1910.147, all servicing and maintenanceactivities require proper lockout/tagout implementation.*
2. Die Clamp Adjustment
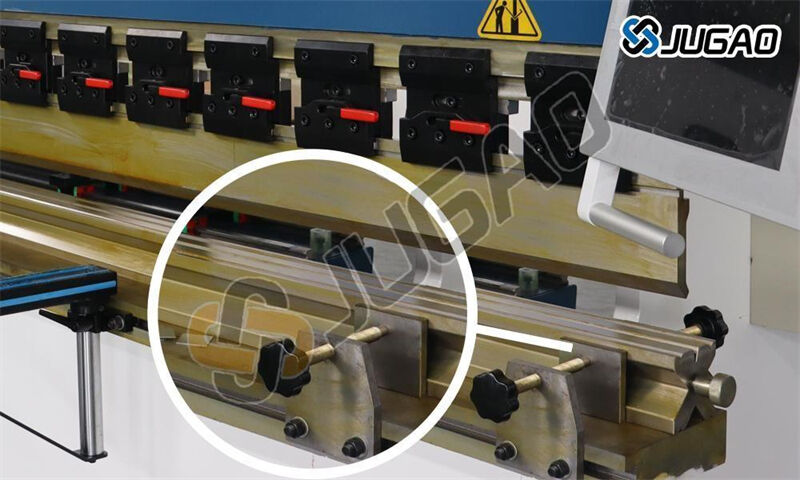
Identify clamp type (mechanical, hydraulic, or pneumatic)
For mechanical clamps:
Use calibrated torque wrench for consistent tension
Loosen in star pattern to prevent uneven stress
For hydraulic/pneumatic systems:
Release pressure slowly using bleed valve
Monitor pressure gauges during release
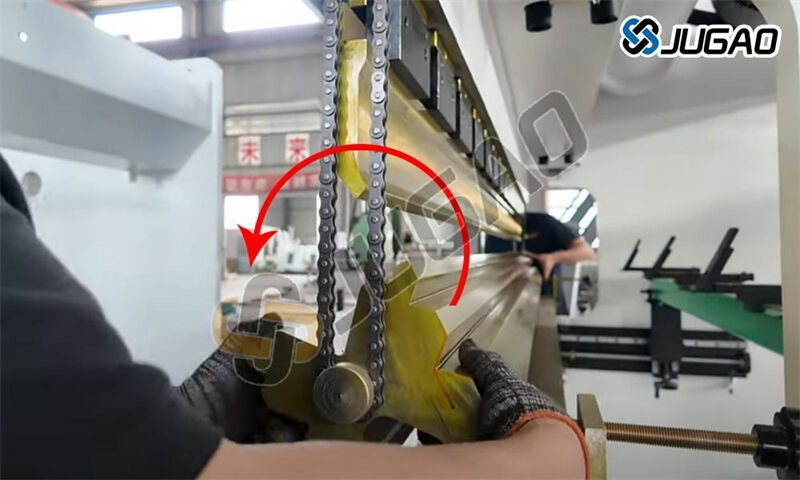
3. Die Rotation Process
1) Lifting Technique
Use balanced lifting points on die
For manual handling:
Maintain straight back posture
Lift with legs, not back
Use team lift for dies over 25kg
2) Rotation Guidance
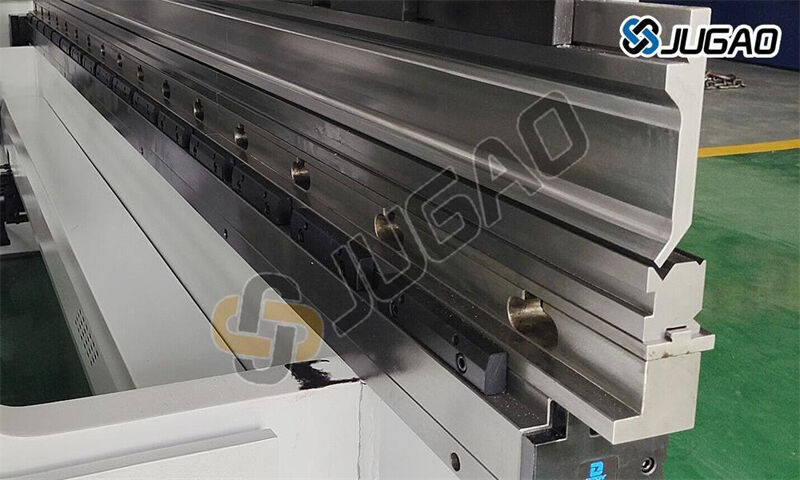
Clean die grooves before rotation
Align rotation marks with reference indicators
For indexed dies, listen for positive "click" engagement
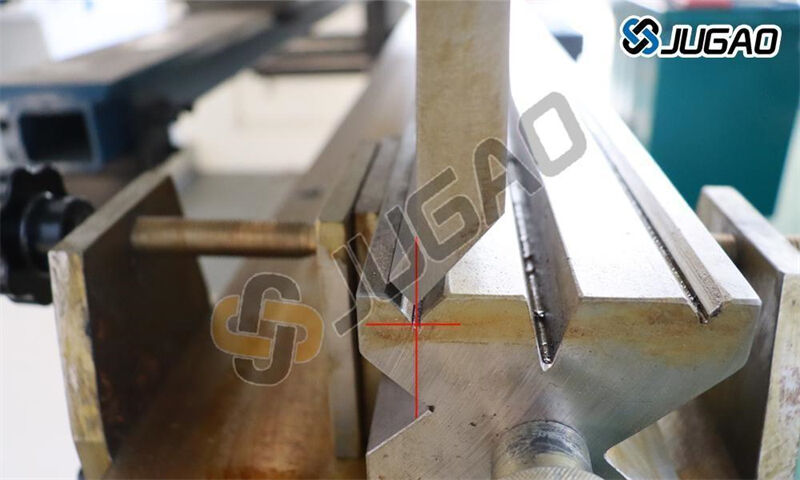
4. Precision Alignment Verification
Use dial indicators to check:
Vertical alignment (±0.05mm tolerance)
Horizontal parallelism (±0.1mm/m)
Die-to-punch centering
Advanced techniques:
Laser alignment for critical applications
Profile projectors for complex tooling
5. Control System Configuration
1) CNC Parameter Updates
Input exact V-opening dimension
Update material database with:
Elastic modulus
K-factor
Springback coefficients
2) Backgauge Calibration
Perform touch-off procedure
Verify repeatability (±0.02mm)
Compensate for tooling offsets
6. Validation and Testing
Three-Stage Test Protocol:
①Dry run without material
②Test bend on sacrificial material
③Production sample verification
Inspection Criteria:
Bend angle accuracy (±0.5°)
Surface finish quality
Dimensional consistency
Troubleshooting Common Issues
| Symptom | Possible Cause | Corrective Action |
| Uneven bends | Misaligned die | Recheck alignment with precision level |
| Excessive tonnage | Wrong V-opening | Verify material thickness vs. V-width |
| Marked material | Dirty die grooves | Clean and polish contact surfaces |
| Inconsistent angles | Loose clamps | Retorque to manufacturer specs |
Post-Change Maintenance
1. Tooling Care
Apply anti-corrosion coating
Inspect for edge wear
Document usage hours
2. Machine Checks
Verify hydraulic pressure
Test safety interlocks
Clean work area
3. Process Documentation
Record setup parameters
Note any adjustments made
Document test results
Advanced Pro Tips
1. For High-Volume Production:
Implement quick-change die systems
Use RFID-tagged tooling for automatic parameter recall
2. Precision Applications:
Temperature-stabilize tooling
Consider micro-ground dies for critical finishes
3. Safety Enhancement:
Install proximity sensors for die position verification
Implement dual-verification systems for critical setups
This enhanced procedure ensures optimal results while maintaining the highestsafety standards. Always refer to your specific machine's operation manual formanufacturer-recommended practices.

