





JUGAO Laser Cutting Controller Maintenance Guide: Six Essential Steps for Stable Performance
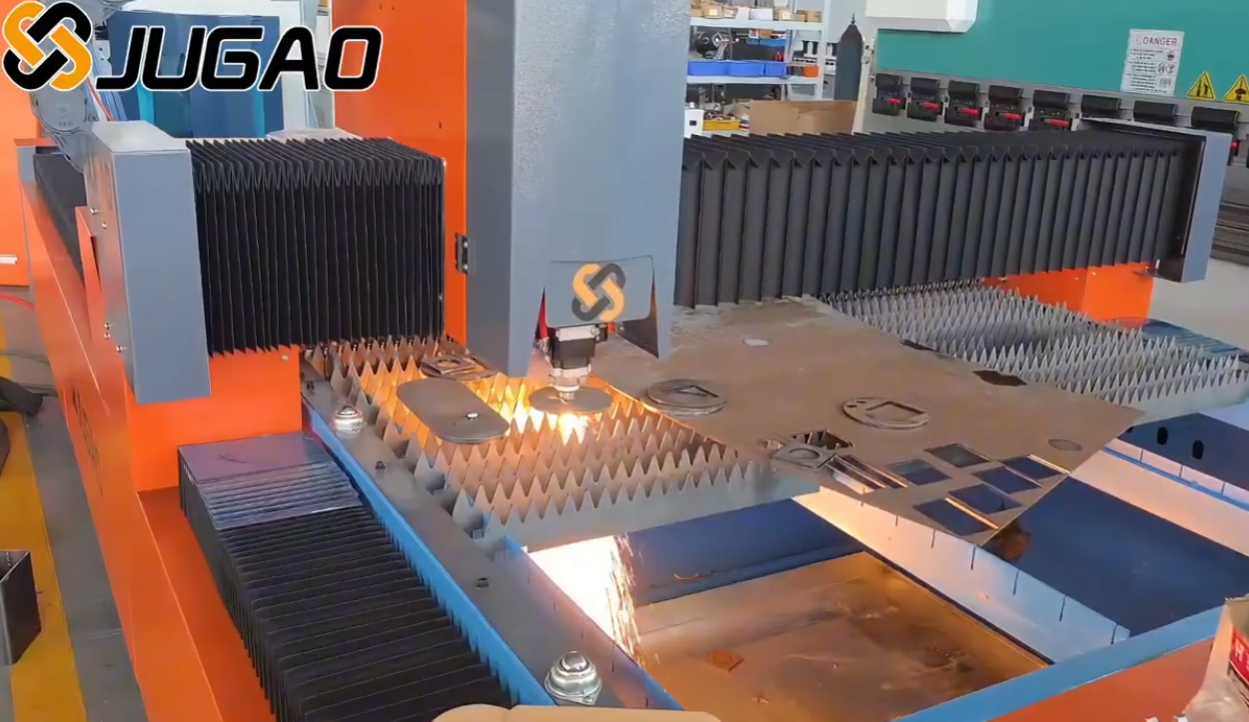
How to Maintain a Laser Cutting Controller Effectively
A laser cutting controller is the command center of the entire machine. It coordinates axis movement, interprets cutting programs, receives sensor feedback, and communicates with the laser source and auxiliary systems. When the controller is clean, properly cooled, correctly connected, and running stable software, the machine can execute cutting instructions accurately and repeatedly. When it is neglected, small issues such as dust buildup, loose terminals, outdated firmware, or blocked ventilation may develop into alarms, motion errors, interrupted production, or inconsistent cutting quality.
This JUGAO maintenance guide keeps the original tutorial sequence while fully rewriting the content and expanding each step into a practical preventive-maintenance procedure. The aim is to help operators and maintenance personnel protect sensitive electronic components, reduce avoidable downtime, and maintain reliable control over daily laser cutting operations.
Table of Contents
1. Why Laser Cutting Controller Maintenance Is Important
2. Step-by-Step Laser Cutting Controller Maintenance
Step 1: Power Down and Apply Safety Precautions
Step 2: Clean External Surfaces
Step 3: Inspect Connections and Wiring
Step 4: Check Cooling Systems
Step 5: Update Software and Firmware
Step 6: Test Controller Functionality
3. Best Practices for Long-Term Controller Care
4. Frequently Asked Questions
5. Conclusion
Why Laser Cutting Controller Maintenance Is Important
Ensures Consistent Machine Performance
The controller links the CNC program with motors, sensors, the laser source, and peripheral equipment. Stable communication between these systems is essential for accurate positioning, smooth acceleration, correct laser timing, and repeatable cut quality. Routine maintenance reduces the risk of software instability, intermittent communication, and control errors that can affect production consistency.
Protects Sensitive Electronic Components
Inside the controller are processors, circuit boards, storage devices, interfaces, and power-management components. These parts are sensitive to dust, static electricity, moisture, heat, and careless handling. Regular cleaning, correct shutdown procedures, and inspection of the enclosure help protect the electronics from premature failure.
Reduces Unexpected Downtime
Controller faults often stop the entire laser cutting system. A loose communication cable, clogged cooling fan, corrupted configuration file, or unstable software update can interrupt production even when the mechanical parts are in good condition. Preventive maintenance makes it easier to detect these risks before they cause a full machine shutdown.
Step-by-Step Laser Cutting Controller Maintenance
Step 1: Power Down and Apply Safety Precautions
Before cleaning or inspecting the controller, stop the current program and complete the normal machine shutdown sequence. Turn off the main power and isolate the equipment according to the workshop lockout procedure. Wait for internal power supplies and capacitors to discharge before opening any electrical enclosure.
When internal components must be handled, use suitable anti-static protection such as a grounded wrist strap and an ESD-safe work area. Do not touch circuit boards, connectors, or memory devices with bare hands unless the task specifically requires it. Internal electrical work should be performed only by trained personnel familiar with the machine schematic and JUGAO service instructions.
Step 2: Clean External Surfaces
Wipe the controller screen, buttons, keyboard area, enclosure, and operator panel with a soft, dry or slightly damp lint-free cloth. Remove fingerprints, oil, and workshop dust before they accumulate around keys, seams, and ventilation openings. Use only cleaning products that are compatible with electronic displays and painted surfaces.
Avoid strong solvents, abrasive pads, excessive liquid, and direct spraying. Cleaning fluid should never enter the display frame, switches, USB ports, ventilation slots, or electrical enclosure. If the screen is touch-sensitive, clean it only after the controller has been shut down so accidental commands cannot be entered.
Step 3: Inspect Connections and Wiring
Check the controller cabinet and all related signal, network, power, and communication cables. Look for loose plugs, damaged insulation, bent connector pins, corrosion, heat marks, and cable strain near moving sections. Confirm that terminal screws and grounding connections remain secure.
Intermittent wiring problems can cause axis alarms, lost sensor signals, program interruptions, or communication failure between the CNC controller and other machine modules. Replace damaged cables instead of relying on temporary tape repairs. Route cables correctly and keep signal wiring separated from high-power conductors where required by the machine design.
Step 4: Check Cooling Systems
Controllers generate heat during operation, especially in high-volume production. Inspect cabinet fans, filters, air inlets, heat sinks, and ventilation passages. Confirm that fans rotate smoothly without abnormal noise and that airflow is not blocked by dust, paper, tools, or stored materials.
Clean or replace filters at the interval specified in the maintenance plan. If the controller cabinet uses an air conditioner or heat exchanger, check its temperature setting, drainage, filter condition, and alarm status. Excessive temperature can reduce processor stability and shorten the life of electronic components, while condensation caused by poor climate control can create serious electrical risk.
Step 5: Update Software and Firmware
Software and firmware updates may improve system stability, resolve known errors, strengthen compatibility, or add support for new machine modules. However, an update should never be installed casually during active production. First confirm that the update is approved for the exact controller model, machine configuration, and installed hardware.
Before updating, back up cutting parameters, machine settings, configuration files, programs, and any license or calibration data required for recovery. Record the current software version. Follow the official update procedure and maintain stable power throughout the process. After installation, verify that the machine configuration, communication settings, and safety functions remain correct.
Step 6: Test Controller Functionality
After maintenance is complete, close all electrical cabinets, remove tools, restore power, and start the machine according to the normal procedure. Review the controller for new alarms or error messages. Confirm that the display, buttons, touch functions, program loading, data storage, and communication ports operate correctly.
Test axis movement at low speed before returning to full production. Verify homing, jogging, positioning, sensor feedback, laser enable signals, and program execution. Run a controlled test cut and compare the result with the expected dimensions and quality. Record the maintenance date, software version, faults found, corrective work, and final test result.
Best Practices for Long-Term Controller Care
Schedule Routine Maintenance
Base the maintenance interval on operating hours, production load, cabinet condition, and workshop environment. External cleaning and visual checks may be completed weekly. High-use machines may require monthly cabinet inspections, while lightly used equipment may be inspected quarterly. Always follow the schedule in the JUGAO machine documentation when it differs from a general recommendation.
Protect the Controller from Environmental Factors
Keep the controller in a clean, dry, temperature-controlled area. Reduce exposure to metal dust, grinding particles, oil mist, humidity, direct sunlight, and large temperature changes. Maintain effective workshop ventilation while ensuring that contaminated air is not drawn directly into the controller cabinet.
Train Operators
Operators should know how to shut down the system correctly, clean the screen safely, recognize abnormal fan noise, and report error messages without deleting diagnostic information. They should not open electrical cabinets, install unauthorized software, connect unknown USB devices, or change machine parameters without approval.
Maintain Backups and Service Records
Keep current backups of machine parameters, controller configuration, cutting programs, and important software packages. Store copies in a secure location separate from the controller. A complete service log makes it easier to track recurring faults, compare software versions, and restore operation after a hardware or storage failure.
Use Stable Power and Network Connections
Voltage fluctuations and unexpected power loss can damage electronic components or corrupt controller data. Where appropriate, use properly specified surge protection, grounding, and an uninterruptible power supply. Network connections used for remote diagnostics or program transfer should also be managed securely and kept free from unauthorized software.
Frequently Asked Questions
How often should I clean my laser cutting controller?
Wipe external surfaces and inspect ventilation openings weekly, or more often in a dusty workshop. A more detailed cabinet, wiring, and cooling inspection can be scheduled monthly for high-use equipment and quarterly for lighter-duty operation, subject to the JUGAO maintenance manual.
Can poor controller maintenance affect cutting accuracy?
Yes. Overheating, loose communication cables, unstable software, and contaminated electronics can cause motion errors, delayed signals, incorrect axis response, or interrupted program execution. These faults can affect dimensions, edge quality, and production consistency.
What should I do if error messages appear after maintenance?
Stop the machine and record the exact alarm code and operating condition. Recheck cables, connectors, cabinet doors, power supplies, and any components that were touched. Confirm software and configuration versions. If the alarm remains, consult the controller manual or contact JUGAO technical support rather than repeatedly resetting the system.
Should controller firmware always be updated to the newest version?
No. Install only versions approved for the specific machine and controller configuration. A newer version may not be suitable for every hardware combination. Back up the existing system and verify compatibility before updating.
Can compressed air be used inside the controller cabinet?
Only when permitted by the machine documentation and used by qualified personnel. High-pressure air can drive contamination deeper into connectors, create static electricity, or damage delicate parts. A controlled ESD-safe cleaning method is preferable.
What information should be included in the maintenance record?
Record the date, technician, controller model, software version, cleaning and inspection work, faults found, replaced parts, backups created, update details, and final functional-test result.
Conclusion
Effective laser cutting controller maintenance combines careful cleaning, secure electrical connections, reliable cooling, controlled software management, and thorough functional testing. Following the six steps in the correct order helps protect sensitive electronics, reduce unexpected shutdowns, and maintain precise communication between the controller and the rest of the laser cutting system.
JUGAO recommends making controller care part of a documented preventive-maintenance program. For model-specific maintenance intervals, approved software versions, backup procedures, spare parts, or technical diagnosis, refer to the documentation supplied with the machine or contact the JUGAO technical service team.
JUGAO Technical Support
Need assistance with controller alarms, software updates, parameter backup, or preventive maintenance? Contact JUGAO for model-specific technical guidance and after-sales support.

