





Master Laser Welding Parameters in 3 Minutes! Universal Adjustment Tips
Laser welding offers high efficiency and produces aesthetically pleasing weld seams. However, many beginners encounter the same challenge when using the equipment for the first time: How should the parameters be set? What power level is appropriate? Should the welding speed be fast or slow?
In reality, most laser welding parameters follow certain adjustment patterns. By mastering a few key parameters and verifying them through test welds, you can quickly determine the optimal process for your specific product. This guide outlines universal adjustment techniques—complete with a reference table—to help beginners get started with ease.
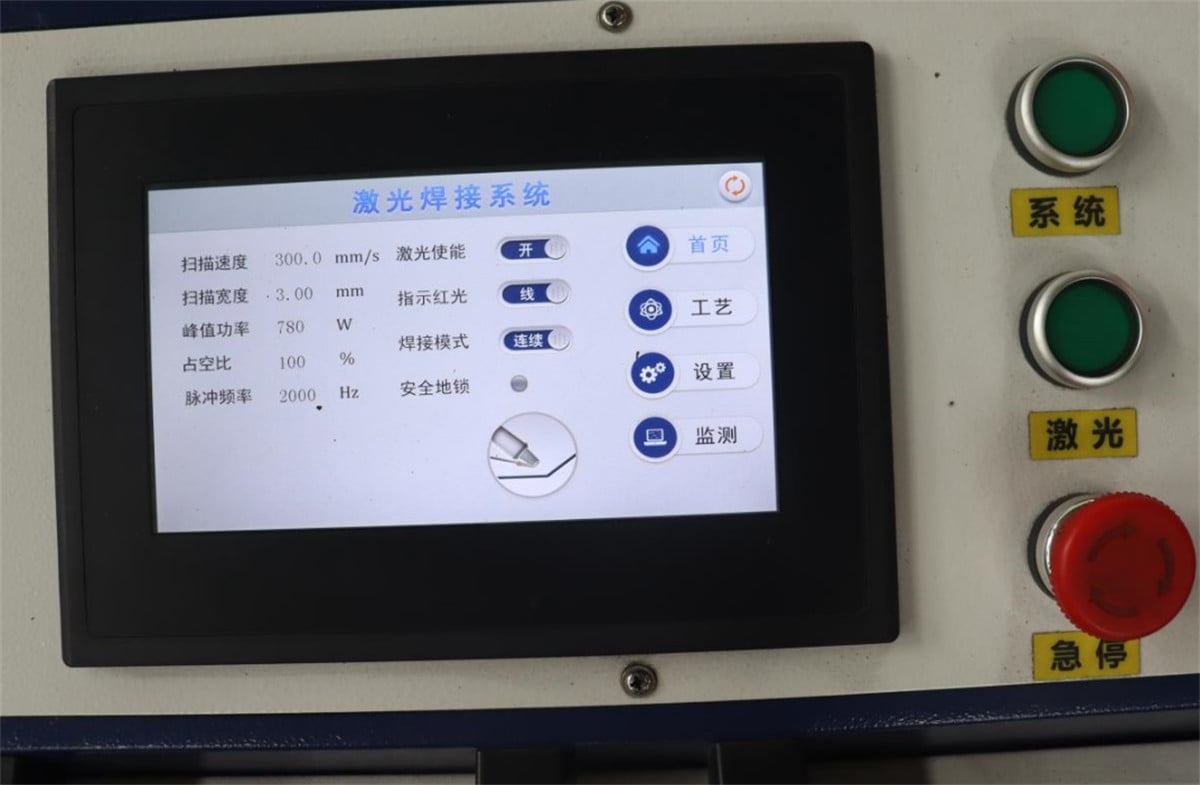
Which parameters are most important in laser welding?
Whether you are using a handheld laser welder or an automated robotic laser welding system, you generally need to focus on the following parameters:
Laser power
Welding speed
Weld oscillation width (and frequency)
Focal position
Shielding gas type and flow rate
These parameters work in tandem; an improper setting for any one of them can compromise the final weld quality.
Tip 1: Identify the material and plate thickness first
Different materials have varying absorption rates for laser energy.
For example:
Stainless steel is relatively easy to weld.
Carbon steel requires a balance between penetration depth and bead formation.
Aluminum alloys dissipate heat quickly, requiring higher energy input.
Copper has high reflectivity, placing greater demands on both the equipment and the parameter settings.
Therefore, always confirm the material and thickness of your workpiece before setting parameters—do not simply copy settings used for other products.
Tip 2: Adjust power and speed in coordination
Many people focus solely on adjusting power, but welding speed is equally critical.
As a general rule:
If you increase the power, you can also increase the welding speed.
If you decrease the power, you should reduce the welding speed accordingly.
High power combined with slow speed can easily lead to burn-through.
Low power combined with high speed may result in insufficient penetration.
It is best to adjust only one parameter at a time and observe the changes in the weld seam; this makes it easier to identify the optimal combination.
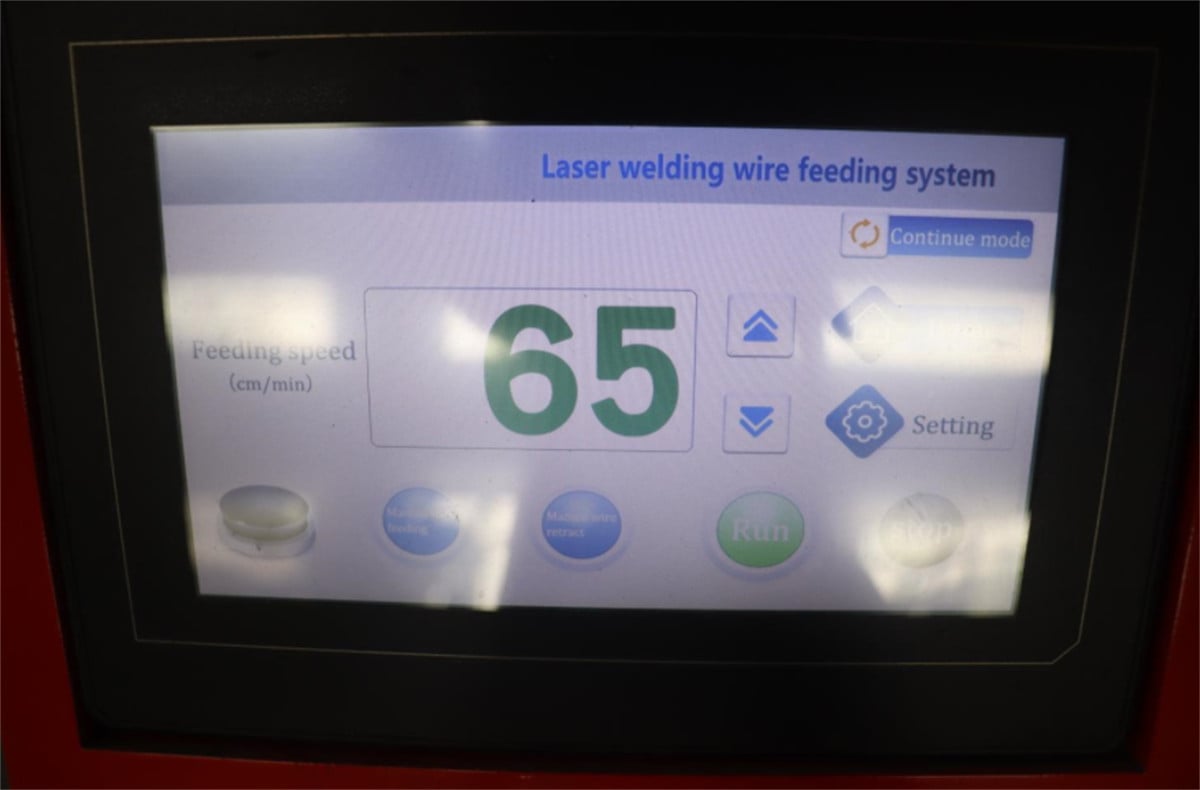
Tip 3: Perform test welds before full-scale production
Even when working with the same material, workpieces from different manufacturers or different batches may require slightly different welding parameters.
Before starting production, create a few test samples. Fine-tune your settings based on the weld bead width, penetration depth, overall formation, and the condition of the backside. Once the parameters are stable and verified, you can proceed to batch production. This not only reduces the need for rework but also improves product consistency.
Laser Welding Parameter Reference Table (For Reference Only)
| Materials | Thickness(mm) | Laser power (W) | Welding speed (mm/s) | Recommended shielding gas |
| Stainless steel | 0.5-1.0 | 800-1200 | 25-45 | Nitrogen/Argon |
| Stainless steel | 1.0-2.0 | 1200-2000 | 18-35 | Nitrogen/Argon |
| Carbon steel | 1.0-2.0 | 1200-2000 | 18-35 | Argon |
| Aluminum alloy | 1.0-2.0 | 1500-2500 | 15-30 | Argon |
| Copper | 0.8-1.5 | 2000-3000 | 12-25 | Argon |
Note: The parameters above are intended as a reference for common applications. In actual welding operations, adjustments should be made based on equipment configuration, spot size, focal position, workpiece structure, and specific welding requirements.
Common Issues and Adjustment Suggestions
What if the weld does not penetrate fully?
You can increase the laser power, decrease the welding speed, or readjust the focal position to increase the laser energy density.
What if burn-through occurs?
You can decrease the laser power, increase the welding speed, reduce the heat input, or—if necessary—decrease the oscillation width.
What if the weld seam turns black?
Check that the shielding gas supply is functioning correctly, increase the gas flow rate, and ensure the nozzle is positioned properly.
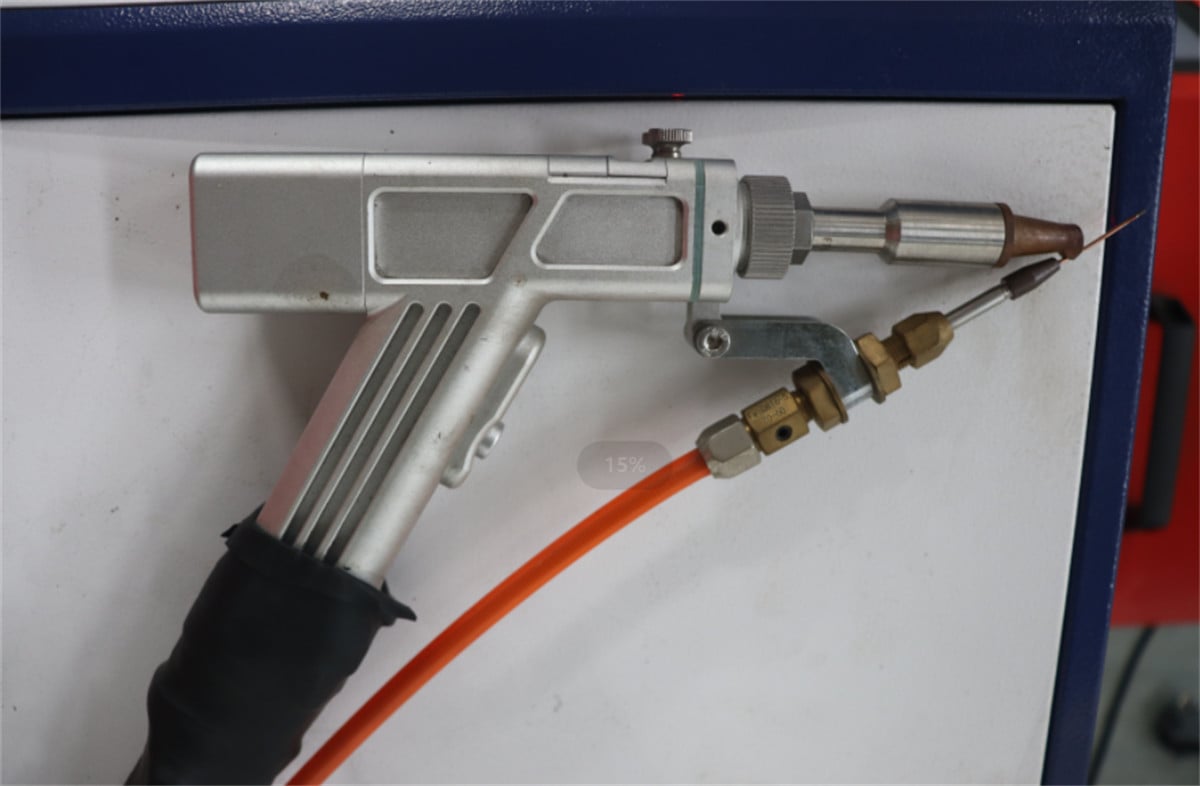
What if there is excessive spatter?
Check whether the power is too high or the welding speed is too slow; also, verify that the workpiece surface is free of contaminants such as oil or oxide layers.
A Simple Approach to Parameter Adjustment
For beginners, it is not advisable to modify multiple parameters at once.
A more efficient method is to:
1. Identify the material and thickness first.
2. Use the manufacturer’s recommended parameters as a starting point.
3. Adjust only one parameter at a time.
4. Save the data from successful tests.
5. Build your own database of welding parameters.
After a few trial welds, you will be able to quickly configure parameters for similar products, leading to a significant boost in production efficiency.
Conclusion
There is no single, universal set of laser welding parameters that applies to every product. However, by following the principles of "identifying the material first, balancing power and speed, and conducting trial welds before full-scale production," most welding issues can be resolved quickly. Accumulating a library of proven parameters not only improves weld quality but also reduces machine setup time, resulting in more stable and efficient production.
As a professional manufacturer of laser welding equipment, we provide tailored laser welding solutions and process parameter recommendations based on your specific materials, thicknesses, and application requirements, alongside comprehensive technical support and after-sales service.

